 Skip to content
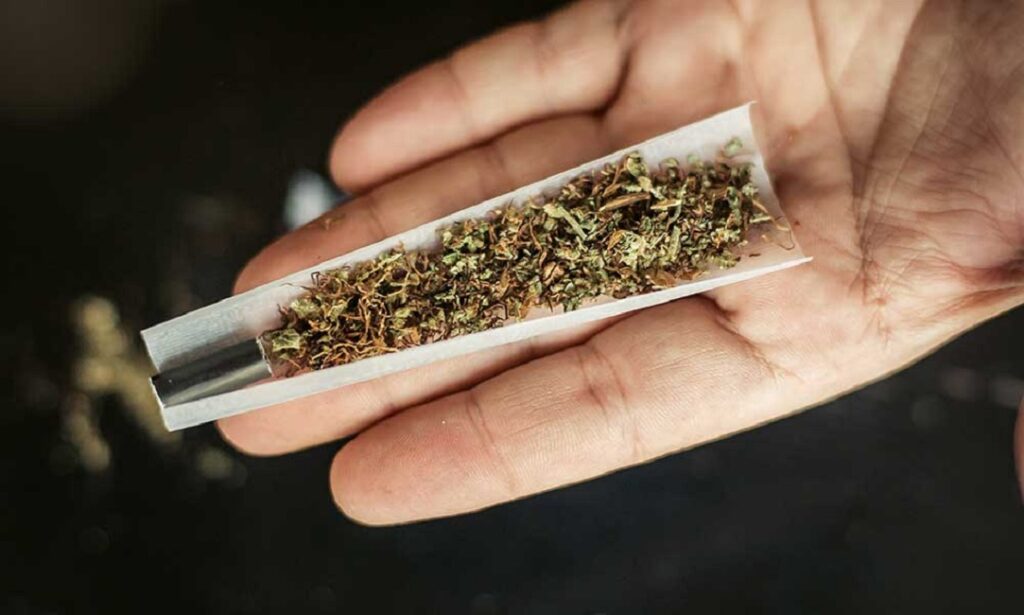
In order to be a true master at rolling joints, you have to know how to roll a joint filter.
The “W” filter has quickly gone from a popular technique used among savvy joint connoisseurs to the industry-standard for cannabis retailers. Next time you’re buying legal pre-rolled joints in states like California or Colorado, check the filter. It’s almost guaranteed to have a little “W” shape in the bottom—I’d even put money on it.
Why to Use a Joint Filter
This method wasn’t only popularized because it looks cool, and could stand for either “Weed” or “Marijuana” (depending on which way you hold it). It’s also one of the most effective ways to prevent your filters from getting clogged, and from keeping tiny pieces of cannabis from flying into your mouth.
Don’t believe me? Take it from Wiz Khalifa.
How to Roll the Perfect Joint Filter
The methodology behind the “W” shaped joint filter is simple.
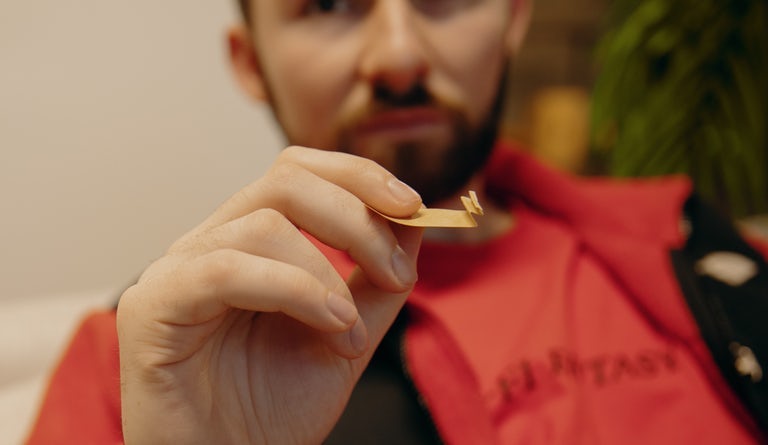
1. Start out with a joint filter tip, which you can purchase at your local head shop or online. If you don’t have access to this, your next best bet is to cut off a rectangle strip from a business card that’s approximately 1 inch wide and 2 inches long. Remember that the width of this rectangle will end up determining how long your filter is, and the length of this rectangle will determine the girth of the filter. So make this rectangle as large or as small as you want, according to how thin, thick, and/or long you want your joint to be.
2. Take your rectangular filter tip and fold a 0.4 – 0.8 of an inch (1mm – 2mm) piece of the end so that it creates a small rectangle shape. Keeping that rectangle folded over, fold the filter tip again in the same way, but this time fold it in the opposite direction. (If you were to unfold both, you should now have 2 small rectangles.) Keep these two folds in place, and fold the filter tip once more in the same fashion, once again reversing the direction of the fold so that you’re folding it on the same side as the very first fold you made. If you’re looking at the filter tip from a side profile, you should now see a “W” shape on one end, where one side of the “W” is super long because of the remaining inch-or-so of filter paper that hasn’t yet been folded or rolled.
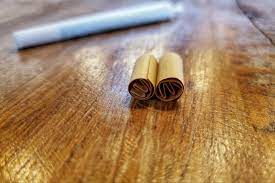
3. With one hand, clamp the “W” shape closed. With the other hand, start wrapping all the excess, unfolded filter paper around the “W” shape so that by the end your filter tip has a “W” shape with a circle around it on both ends. You can wrap this as tightly or as loosely as you’d like, depending on how big you want the filter to be. The looser you roll it, the more the “W” shape will stand out. But since this will also create a larger filter, you’ll want to use the filter in a larger joint. If you roll it tightly, the “W” shape might be harder, or nearly impossible, to see. But rolling it tightly like this will also allow you to roll a smaller, thinner joint if that’s what you prefer.
4. Roll the filter back and forth between your thumb and forefinger until the filter stays rolled up on its own and doesn’t uncoil if you put it down on the table.
5. Use your new filter to roll a joint and congratulate yourself on a job well done.
How to Roll a Joint with a Charcoal Filter
The easiest way to do this is to buy one online or from your local headshop and roll it into your joint the same as you would any other type of filter. You could also try to fashion your own charcoal filter if you have charcoal powder and a thin plastic tube, a few inches long.
1. Roll a joint with a thin filter in the end.
2. Roll another thin filter that can fit inside of a thin plastic tube. Put the filter in one end of the plastic tube.
3. Fill the plastic tube almost all the way to the top with charcoal powder, leaving enough room in the end so you can slide the filter-side of the joint you just rolled into the plastic tube. Then, do exactly that: slide the filter-side of the joint into the end of the plastic tube.
4. You should now have a joint with a filter, attached to a plastic tube filled with charcoal powder, with another filter at the end where you’ll smoke out of.
How to Roll a Filter Shaped like a Cannabis Leaf
This method of rolling a joint filter is the same idea as the “W” filter, but with more folds.
- Start out with a joint filter tip, which you can purchase at your local head shop or online. The larger the filter tip, the easier this process will be. If you don’t have access to this, your next best bet is to cut off a rectangle strip from a business card. (Note: remember the larger the filter tip, the larger the filter will be at the end. The larger the resulting filter, the larger of a joint you’ll end up rolling.) Take your filter tip and start making folds, the same as is detailed in the “W” shaped filter instructions above.
- While making the first five folds, make sure the folds get bigger and bigger each time, so that when you look at the filter paper from a side angle, there are 3 triangular points that get increasingly large. The third point will be the largest middle “leaf” in the cannabis plant shape. Then, make five more folds, but this time, make each fold smaller than the last. Once you’ve finished folding, look at the filter paper from a side angle again. You should now have five triangular points, with the tallest in the middle, flanked on either side by slightly smaller points, and on the very ends, the two smallest points.
- Take the outside “walls” of the furthest most, smallest points, and bring them together so that they touch directly beneath the largest point that’s acting as the tall center leaf. You should now see the shape of a cannabis leaf. (Note: While an actual cannabis leaf normally has seven points, yours will only have 5. You could try to make seven points, but it would be difficult.)
- Carefully roll all the excess filter paper around this leaf shape, the same way you did with the “W” shaped filter. This should create a circle around the cannabis leaf shape.
- By now, some of your “leaf points” will have probably collapsed into each other. To reshape them so that they once again resemble a cannabis leaf, simply take a pin and stick it in between all the points to carefully separate them so that they’re no longer touching, but splay outwards in the shape of a cannabis leaf.
- Use your new filter to roll a joint and congratulate yourself on a job well done.
I don’t pack the paper at the tip of the joint, I do a traditional twist, push the twist down then burn it off so its open like a cigarette, it smokes beautifully and every hit is delicious.