Whether you prefer a straight, cigarette-style joint or the classic cone, we all strive to roll the perfectly shaped joint. Not only do pearled joints look good, but they also smoke more evenly than their elbowed counterparts. This step-by-step visual guide will show you how to roll a cone joint (or pinner), making it easy to roll a photo-worthy joint to enjoy solo or share with your friends.
If you have already mastered how to roll a joint that is a normal size, then this one is a good next step, but it will require a lot more patience and weed to pull off than your average roll. This DIY project makes for an excellent cannabis Halloween party activity and will make several rounds through your guests, no matter how many are in attendance. To really liven things up, we will finish off with some of the best Halloween themed weed strains for an extra intense experience.
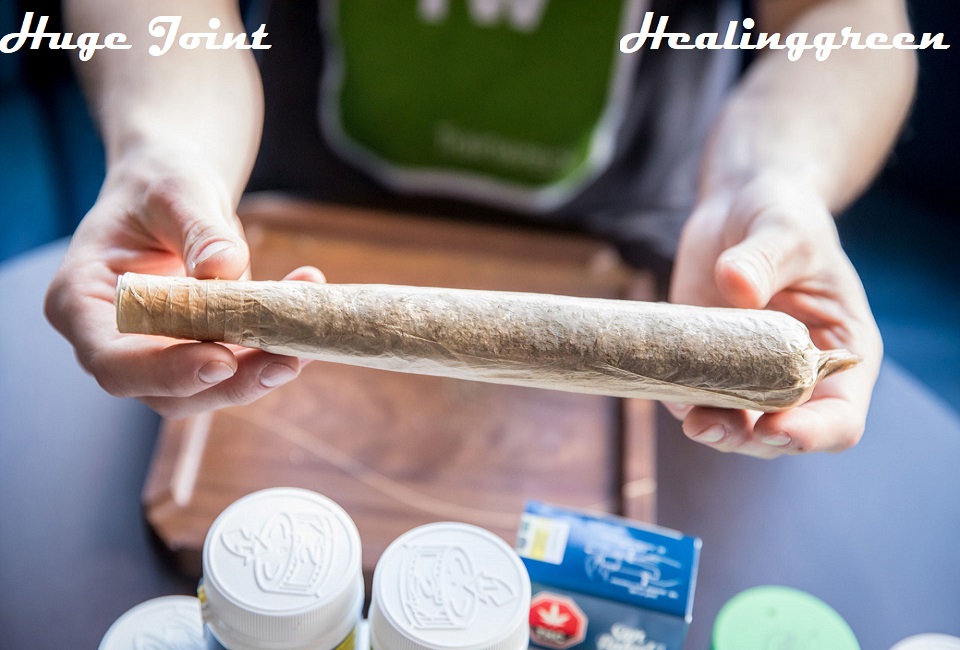
How to roll a joint that is one foot long
When it comes to party-sized joints, there isn’t much else that can compare to the number of photos, laughs, and good times that are guaranteed by all who choose to partake. Usually, the most difficult part of this challenge is properly adhering the cannabis rolling papers, which is why, if you have the choice, it’s always easier to opt for options that are made for just this kind of task, like the RAW 1-foot long rolling papers. The best part about mastering the skills necessary to roll a joint of this size is that you can always go slightly larger or wider with a few small tweaks, creating a long-running personal challenge where the goal is always to get bigger and better.
Makes: 1-foot long joint
Duration: 30-60 minutes
You will need:
- 28 rolling papers (or one giant RAW paper)
- 10-14 grams of cannabis
- Carboard stock (for filter)
- Scissors
- Weed grinder
- Blunt glue (or glue strips)
Instructions
P.S. If you are using giant rolling papers, then you can skip step 1 and 2.
- To roll a joint of this magnitude, it will take a bit to prepare the papers in a pattern that will comfortably roll and mold into the perfect smokable piece. Start by lining the papers in rows of 12 so that you will know how they need to be affixed, then apply moisture to one glue strip at a time, placing one layer at a time until they are all attached by the glue strips.
- Once all the ends are layered, you will notice that the rows of papers are still separated, and this is where the blunt glue comes in. If you don’t have any on hand, then you can always take the time to remove the glue strips from other rolling paper gently, but the fastest and easier way to ensure a solid connection is to apply a small amount of blunt glue along the edge of each one, and slightly overlapping them by a few millimeters. Leave the glue to rest and set for at least 10 minutes before continuing.
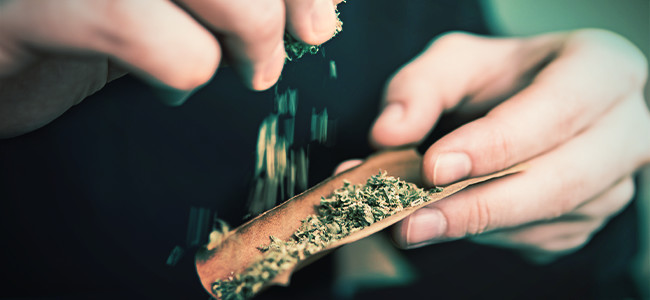
- Now you should have a massive rolling paper that is ready to be filled. To do that you will need a whole lot of cannabis grind, so it’s time to get out your grinder and bust apart the buds, removing all stems along the way.
- At this point, the paper should be flat should have mounds of bud grinds in the middle. Now it’s time to pack it down to even out the mixture; otherwise, your joint will have an odd shape and won’t burn consistently. Instead, you should either spread the cannabis across the center of the paper as evenly as possible (for a straight roll) or wider at one end and tapering down to the mouthpiece (for a cone roll.)
- Once you are satisfied with the placement of your herb, it is time for the ultimate test of skill, the final and official step, which is tightening and then rolling the giant joint. Just remember, that if you are relatively new to the art of rolling papers, or have small hands, it might be challenging to get this done on your own, so it’s always a good idea to enlist in the help of a friend.
- Each person should choose an end to work from, and both should unanimously begin to tuck and roll, just like you would with a regular joint. Once the roll is complete, use a small amount of moisture and coat the entire glue trip evenly so that there are no leaks in the final product.
- Since this roll is so large, it’s highly recommended to allow for a set period between each stage, so once it’s done, if you aren’t using naturally large rolling papers, then wait a few minutes before sparking up your masterpiece.
The best weed strains for a Halloween joint

Looking for the best weed strains to smoke with your friends over the holidays? If so, then we’ve got your back with these 8 creepy Halloween themed strain names, all of which come packed with a potent punch that is not for the faint of heart.
- The White
- Ghost Train Haze
- Zombie Kush
- Frankenstein OG
- Voodoo
- Green Goblin
- Black Widow
- Ghost Kush
2. THE TULIP JOINT
THE CONE
This is where things really start to get crazy. This is a joint made exactly for that: a crazy experience. This joint will pack huge amounts of weed and will get your whole squad baked for sure. This Amsterdam classic is here to impress.
We’ll start by rolling the tulip’s head. Get two large rolling papers and make a square, using the glue strips to connect them. You can make the head bigger by using four papers or more. Just make sure it forms a square shape.
Next, bring one of the bottom corners to the opposite top corner. This way, it should form a triangle. When doing this, leave the glue strip on top exposed. Next, wet the strip and fold it over to seal the shape together. Now, you can open this sealed triangle to reveal a cone shape. Fill with your favourite strain and leave a decent margin of paper on the top.
THE BODY
In some tulip joint tutorials, smokers will simply attach a long filter to the cone and smoke it. Here, we’ll be teaching you how to use a long jay instead, for an even crazier experience.
Roll a normal joint, but make sure to make it a bit longer than usual. Now that you have your joint, pack it well and cut off any excess paper on top, don’t seal it.
Place this inside your weed cone and wrap the excess paper of the cone around the jay. Cut off a couple of glue strips from another paper. Use one to hold this paper and the joint together. It will not be airtight. Cut off any excess paper from the cone that’s creating this skirt-like look to the tulip. Use the second glue strip to seal the boundary between the cone paper and your joint’s body. Light up the top of the tulip and pull normally from your jay.
Pingback: Everything You Need to Know About Roach Clips – Cannabis Media Blog
Nice looking joint, do you always roll blunts? here in the UK we mix with tabacco. No way i would put a whole 20 bag in one spliff tho 🙂